![[EN] Resetting the zadmin Password on ZVM / ZVMA Using Debian Rescue Mode](https://kadirkozan.com/wp-content/uploads/2026/03/Zerto_HPE_Logo-1024x523.png)

For console access to the ZVM/ZVMA appliance, the zadmin account is the primary account used for login.
If you are unable to log in using the existing zadmin credentials, the password can be reset by booting the appliance from a Debian installation ISO and using Rescue Mode.
This document explains the recommended procedure for resetting the zadmin password on a ZVMA virtual machine running in a VMware environment.
Before You Begin
Before starting the password reset procedure, it is strongly recommended to create a snapshot of the ZVM/ZVMA virtual machine.
The snapshot provides a recovery point in case any unexpected issue occurs during the procedure.
Since this process requires shutting down the virtual machine and accessing the operating system through Debian Rescue Mode, the activity should ideally be performed during an appropriate maintenance window.
1. Download a Debian ISO Image
First, download a Debian installation ISO that includes the Rescue Mode option.
Debian 12 or Debian 13 can be used. Earlier versions may also be suitable as long as they include Rescue Mode.
For example, the following Debian 12 ISO may be used:
https://cdimage.debian.org/cdimage/archive/12.12.0/amd64/iso-cd/debian-12.12.0-amd64-netinst.iso
2. Upload the ISO to VMware
Upload the downloaded Debian ISO to one of the following VMware locations:
- VMware Datastore
- VMware Content Library
Once the upload is complete, the ISO can be attached to the ZVMA virtual machine.
3. Power Off the ZVMA Virtual Machine
From VMware vSphere, power off the relevant ZVMA virtual machine. Make sure the virtual machine is fully powered off before modifying its hardware settings.
4. Edit the Virtual Machine Settings
Right-click the ZVMA virtual machine and select: Edit Settings A virtual CD/DVD drive must then be added to the virtual machine.
5. Add a CD/DVD Drive
From the virtual machine settings, select: Add New Device > CD/DVD Drive Configure the CD/DVD source to use the Debian ISO previously uploaded to the Datastore or Content Library. Make sure the following option is enabled: Connected
Configure Boot Delay
It is also recommended to configure a temporary Boot Delay so that there is enough time to access the boot menu during startup.
Navigate to: VM Options > Boot Options For example, set: Boot Delay: 10000 ms This provides approximately 10 seconds to press ESC during startup.
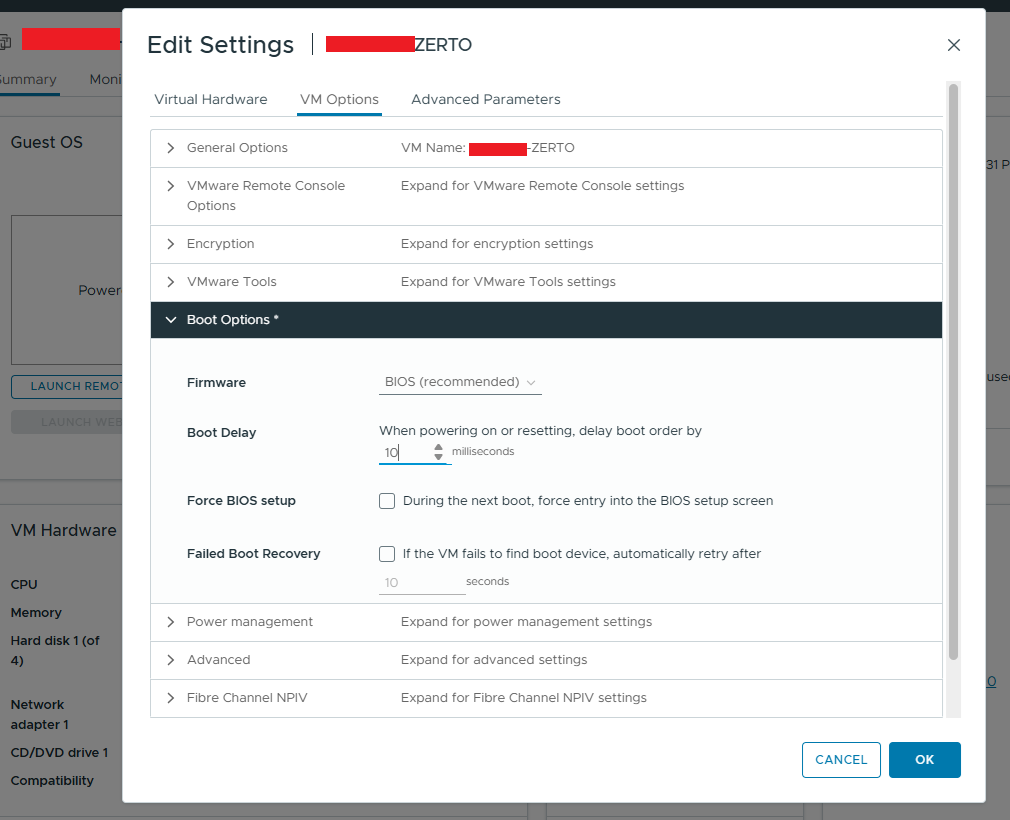
Important: Entering the BIOS menu directly may not allow the required boot order changes. It is therefore recommended to use the boot menu during startup and manually select the CD-ROM device.
6. Power On the ZVMA Virtual Machine
After completing the required configuration, power on the ZVMA virtual machine. Monitor the startup process using VMware Remote Console or Web Console.
7. Boot from the Debian ISO
When the virtual machine startup screen appears, press ESC to open the boot menu.
Select: CD-ROM as the boot device. The system should then boot from the attached Debian installation ISO instead of the installed operating system.
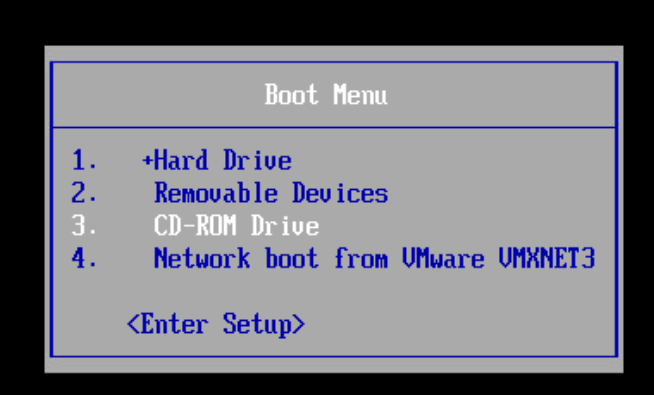
8. Start Debian Rescue Mode
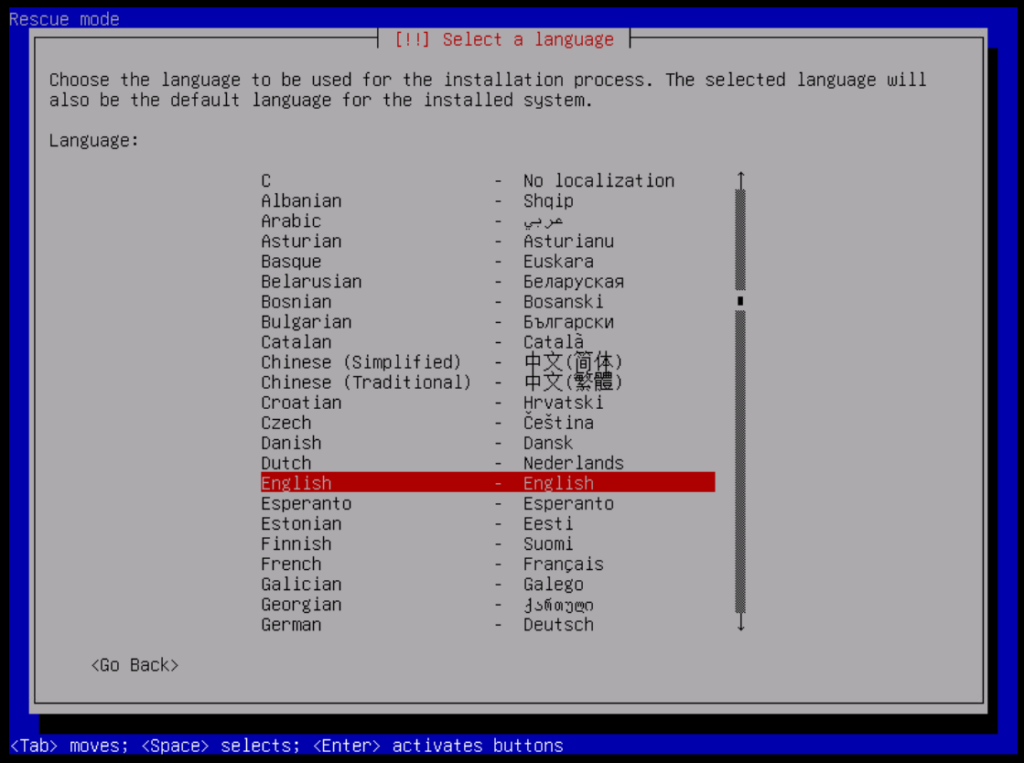
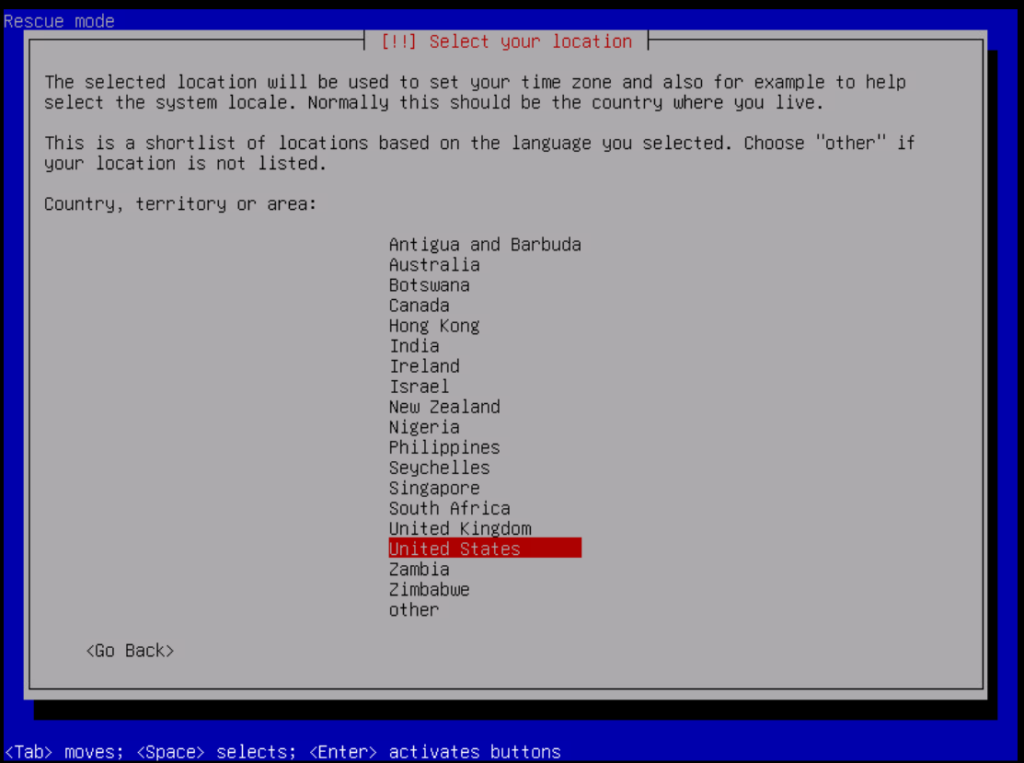
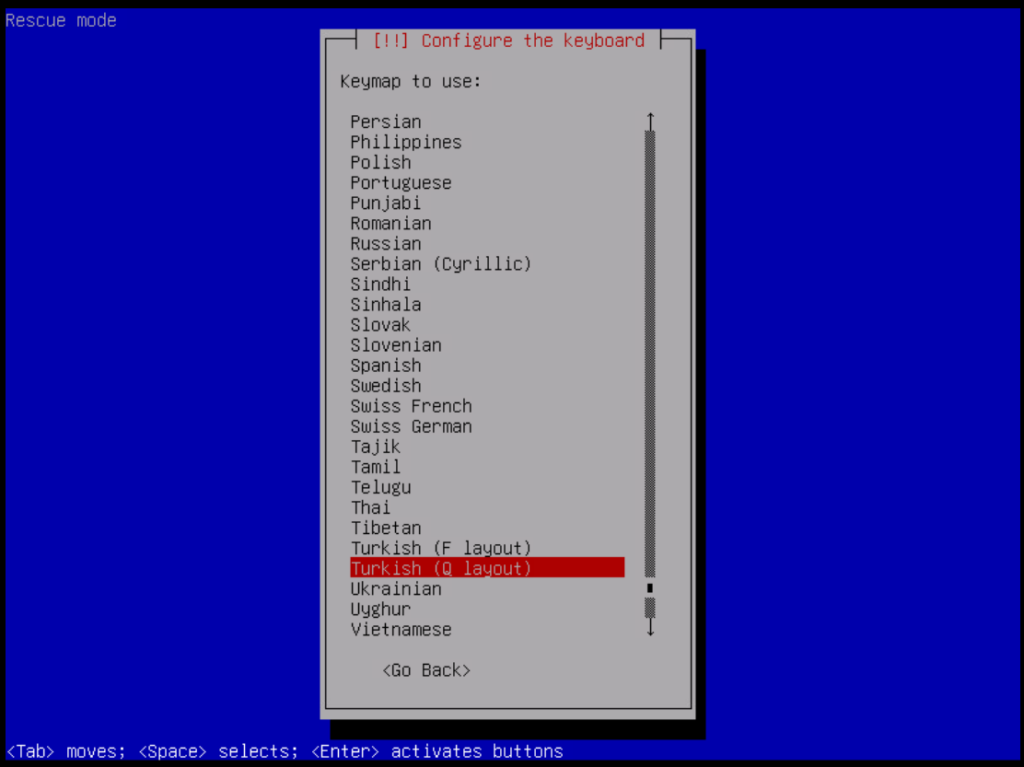
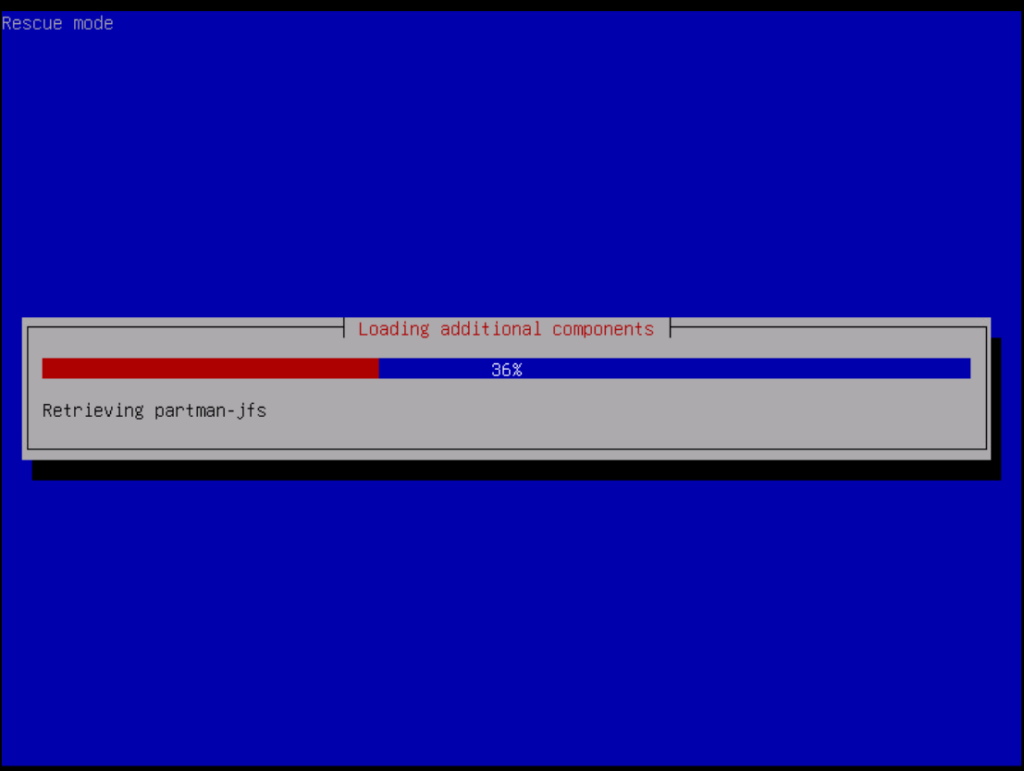
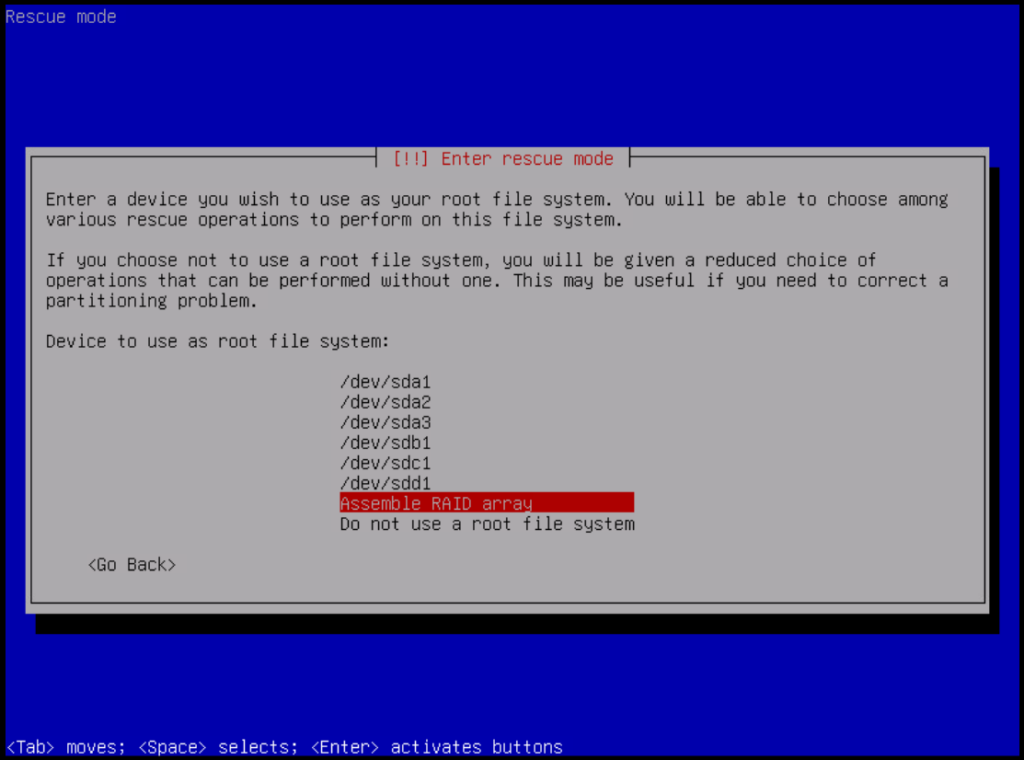
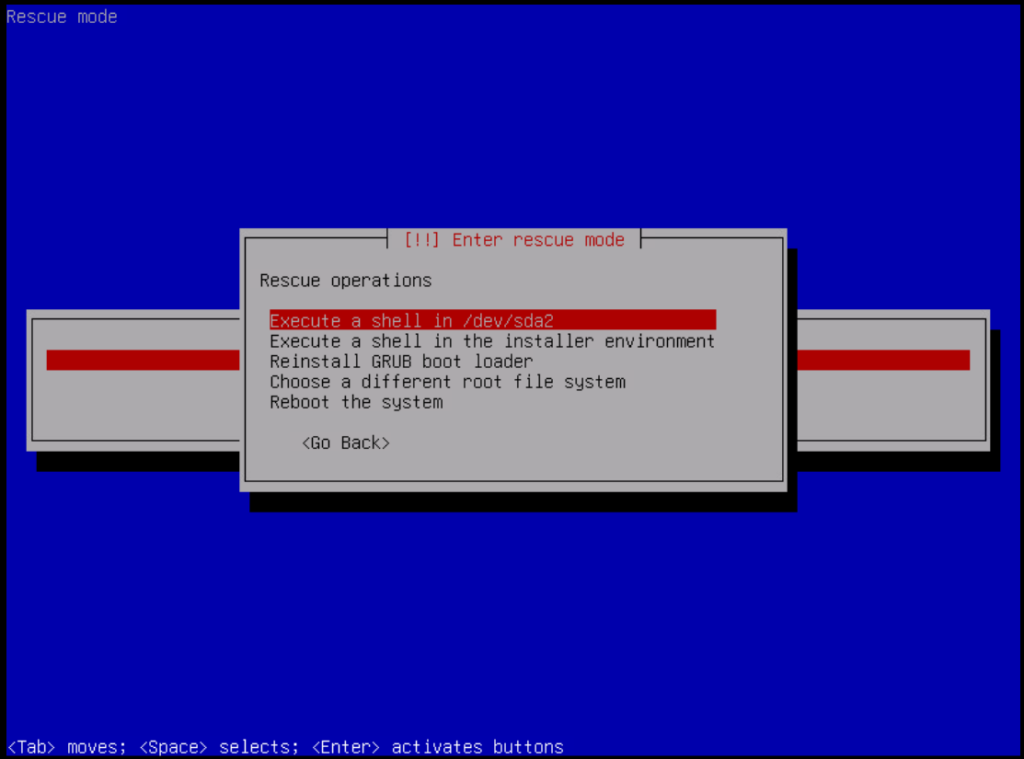
From the Debian installation menu, select: Advanced Options > Rescue Mode During the Rescue Mode startup process, you may be asked to select language, location, keyboard layout, and basic network settings. Use the appropriate values for your environment or continue with the default options where applicable. Eventually, Debian will prompt you to select the disk or root filesystem to work with.
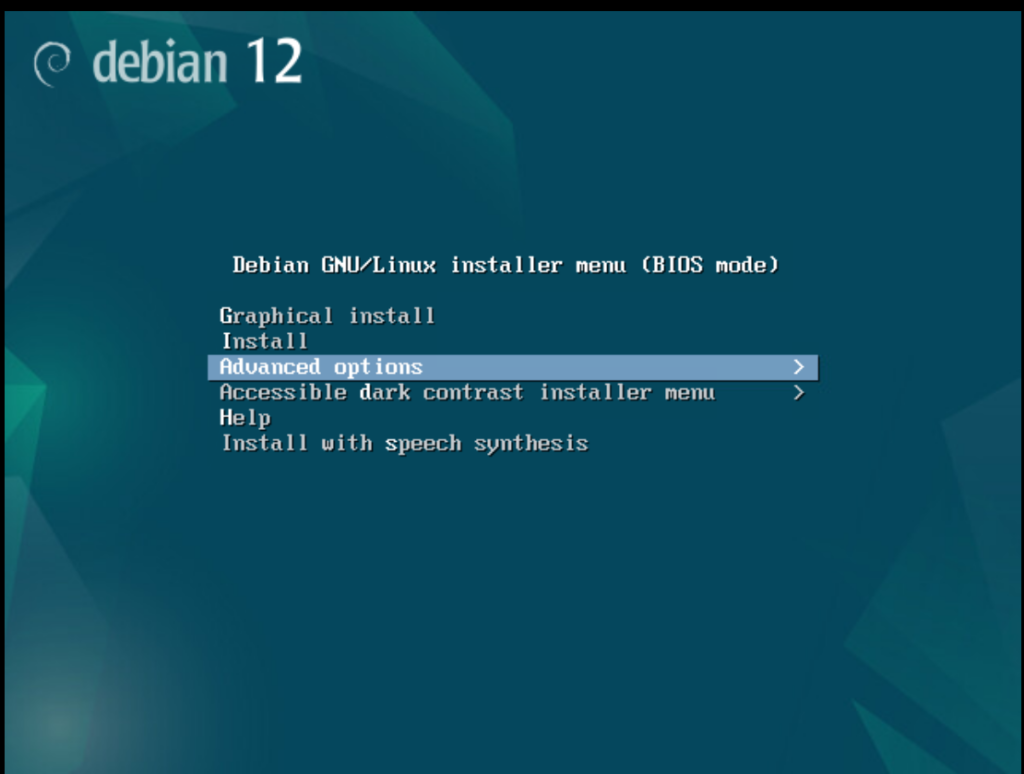
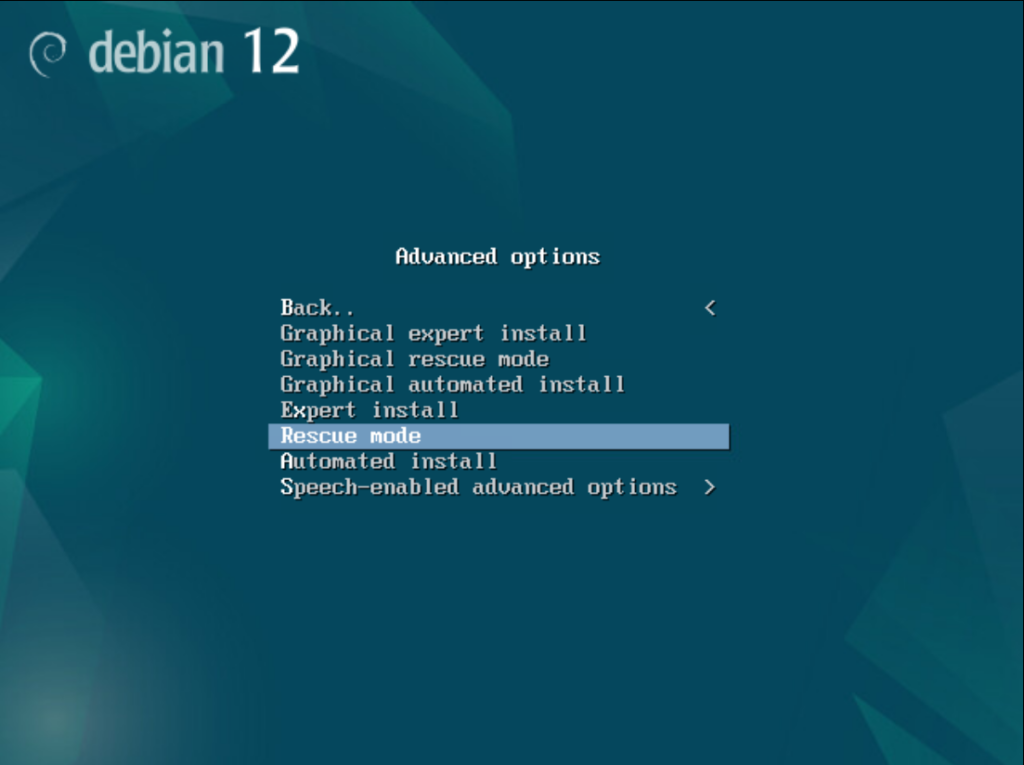
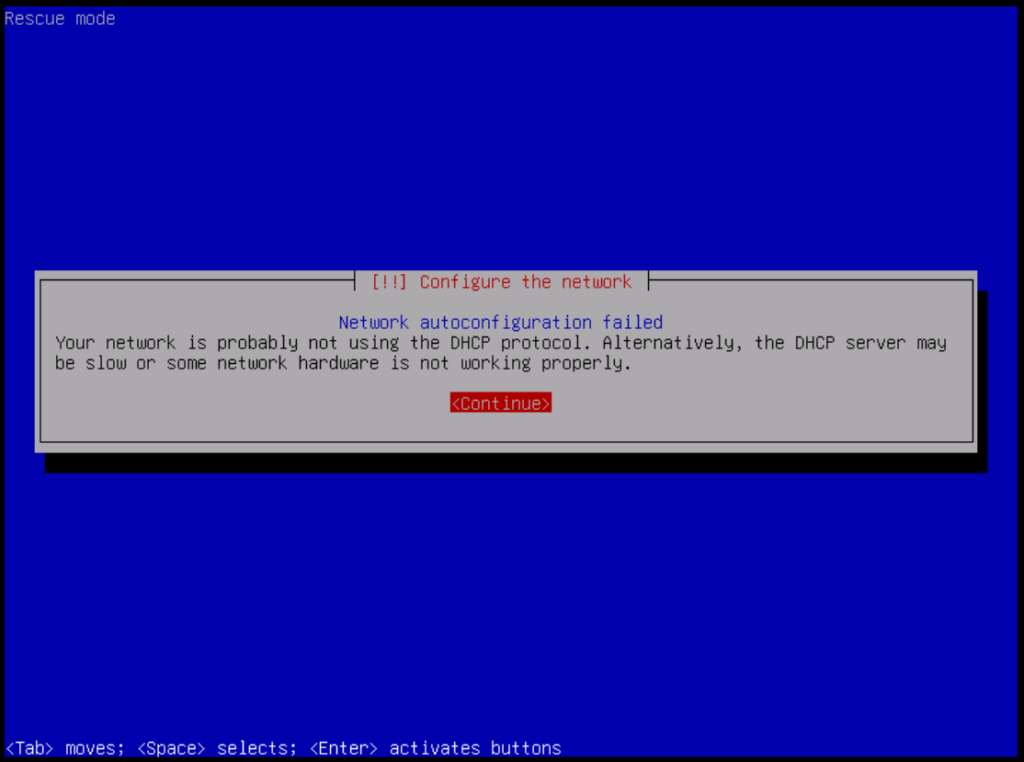
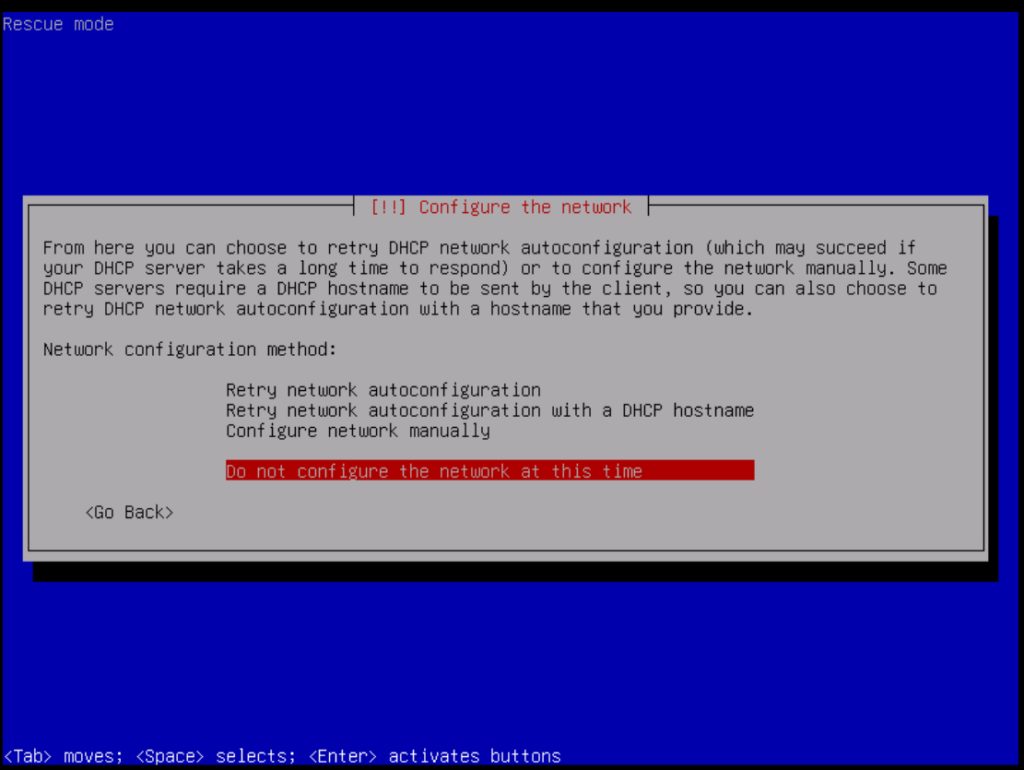
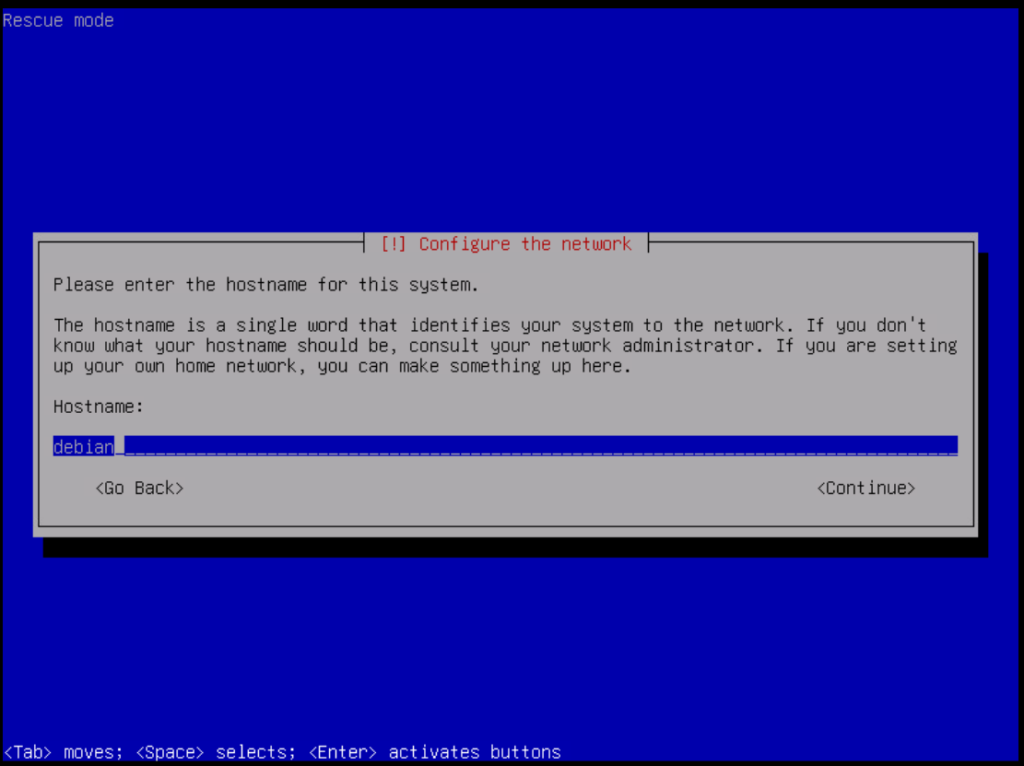
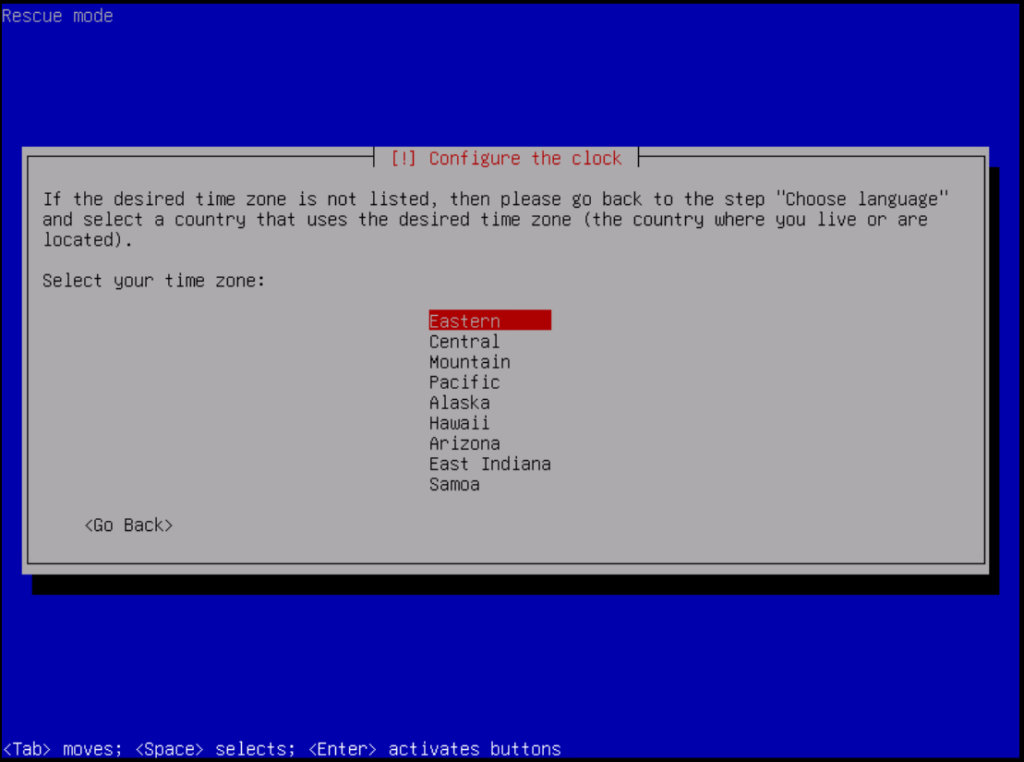
Assemble the RAID Array
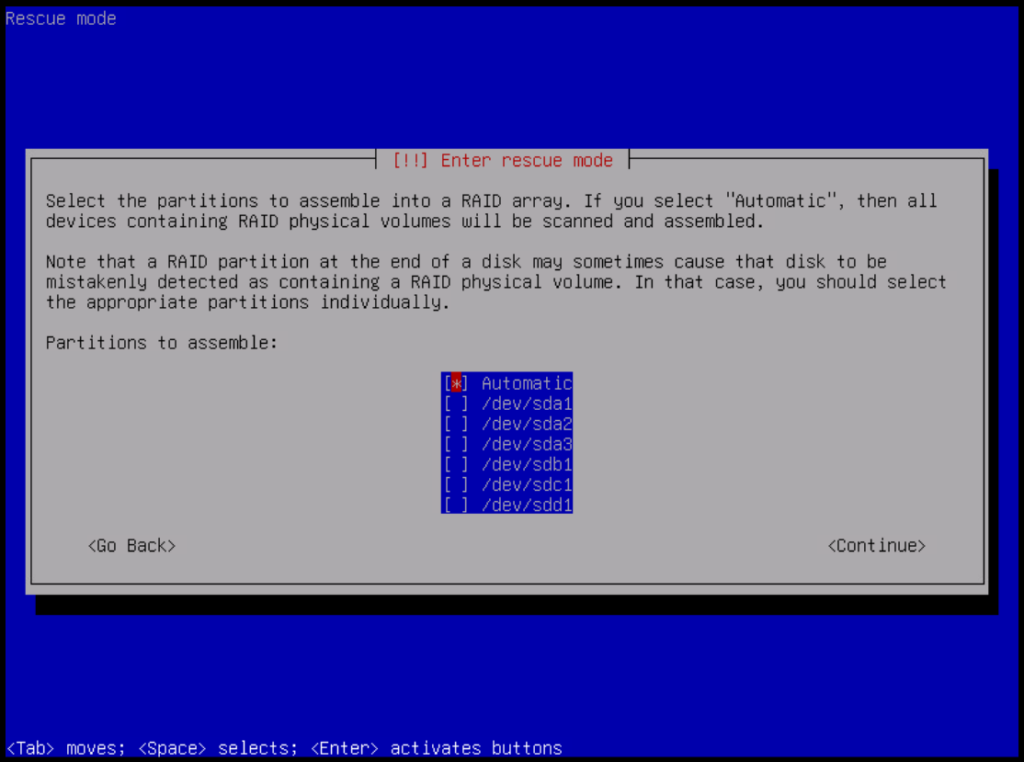
If the appliance uses a RAID configuration, select: Assemble RAID Array > Automatic
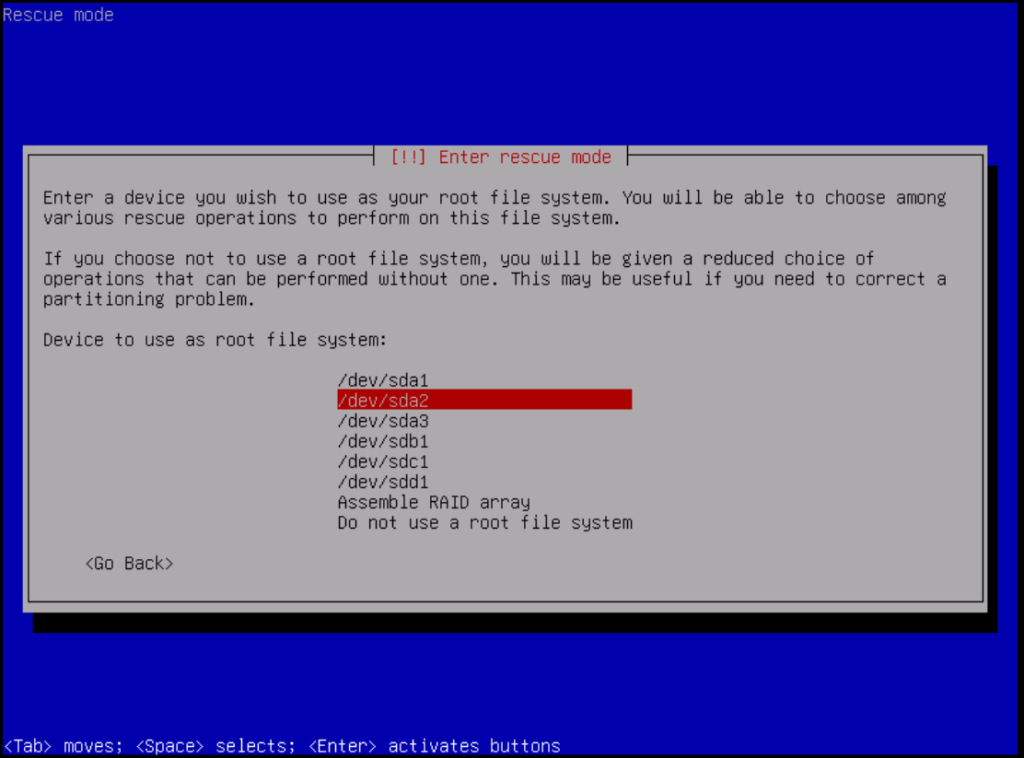
Once the RAID array has been assembled successfully, the root volume should become visible.
For example:
/dev/vg00/root
or, depending on the system configuration:
/dev/sda2
Open a Shell on the Root Filesystem
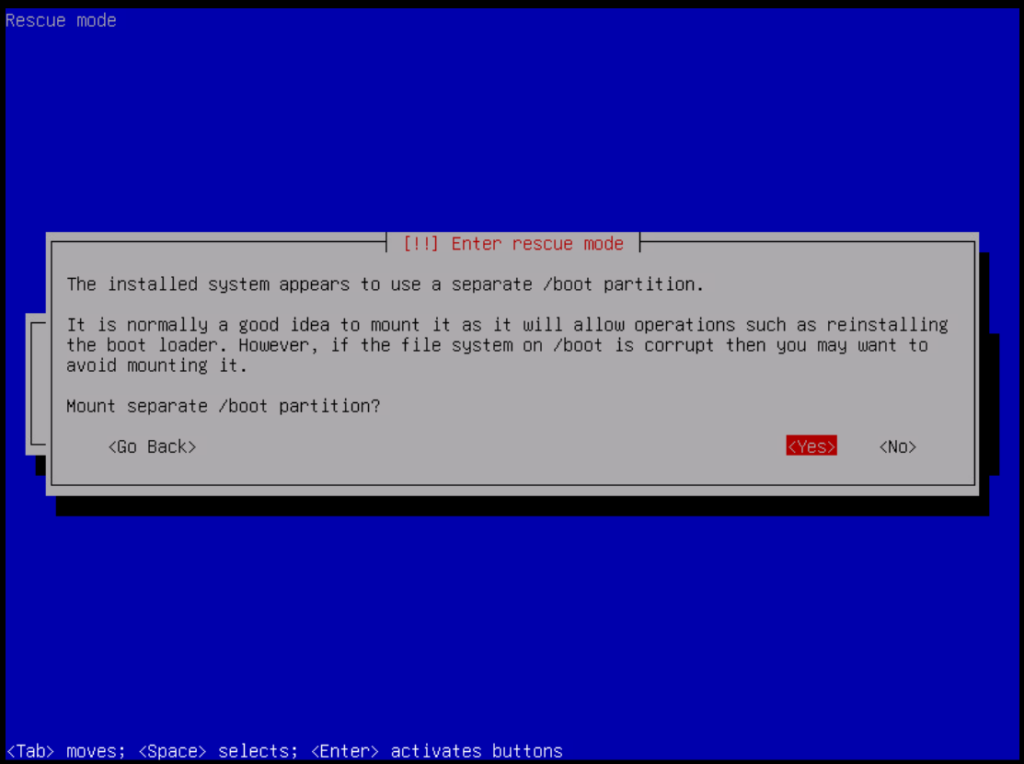
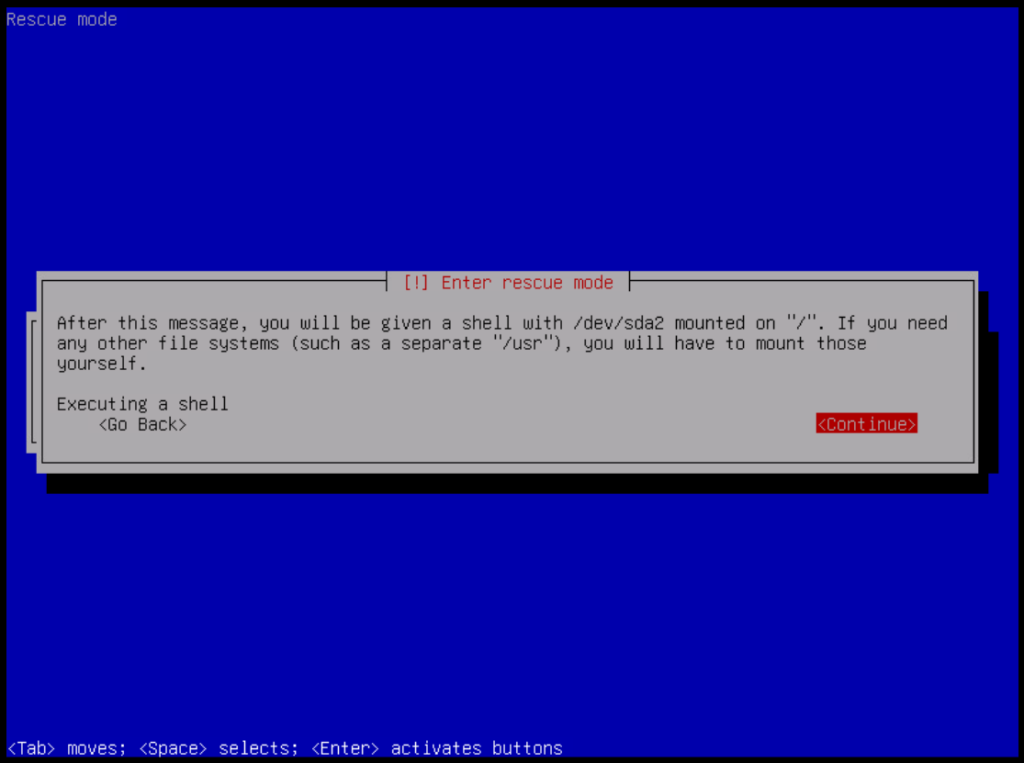
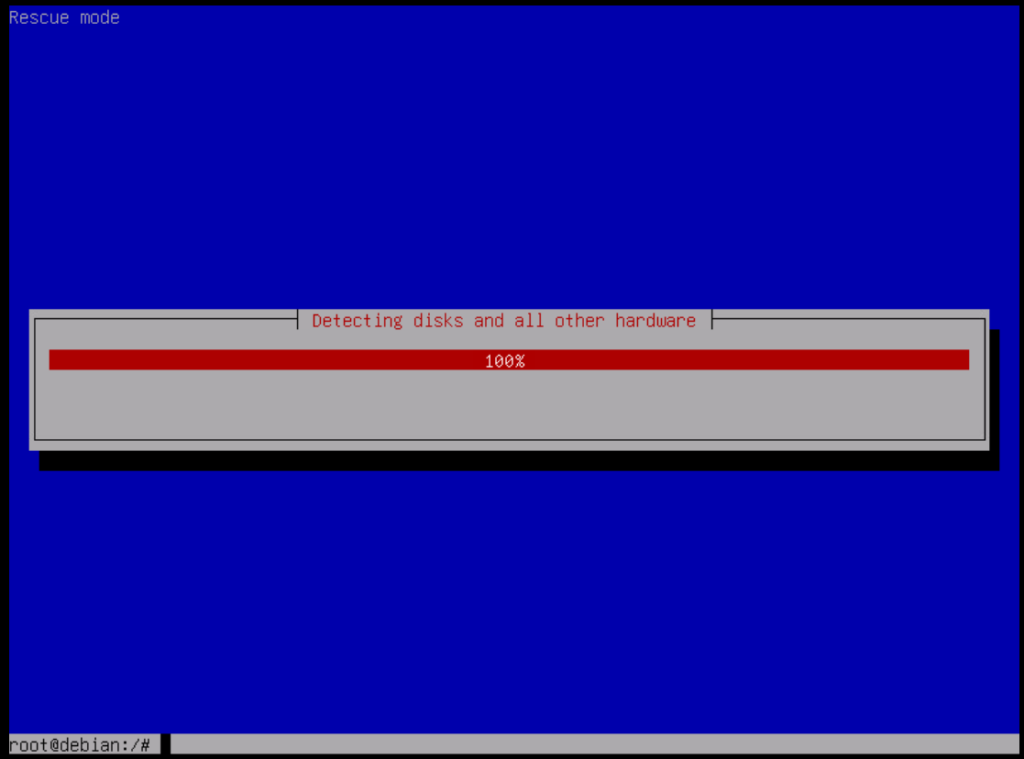
Select the appropriate root filesystem and choose: Execute a shell in /dev/vg00/root or, depending on the system: Execute a shell in /dev/sda2 This will open a shell environment on the existing ZVMA operating system.
9. Reset the zadmin Password
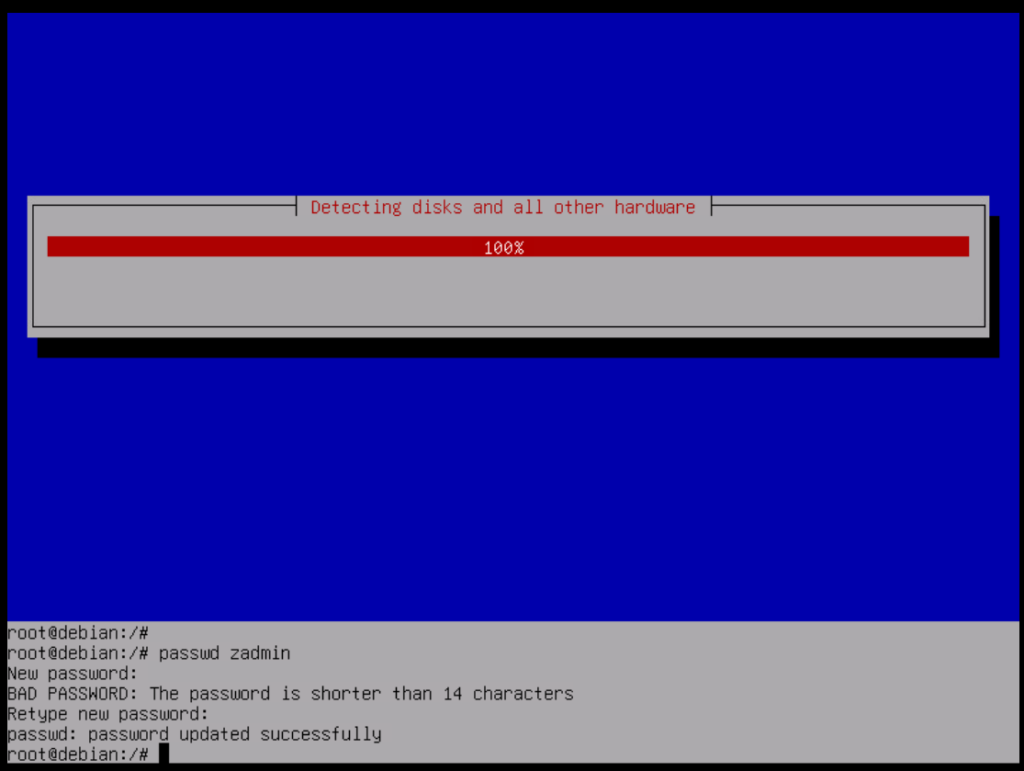
At the shell prompt, run the following command:
passwd zadmin
The system will prompt you to enter the new password twice.
Enter the new password and confirm it.
Once the password has been changed successfully, leave the shell by running:
exit
Then reboot the system.
10. Verify Login with the New Password
After the system has booted normally, attempt to log in through the VMware Console using the zadmin account and the newly configured password.
Confirm that the new credentials are working correctly.
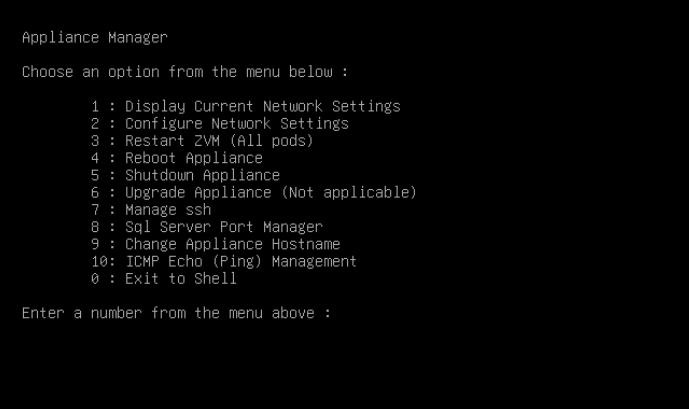
It is also recommended to perform basic system health checks, including:
- Confirming that the operating system boots normally
- Verifying that ZVMA services are running
- Checking network connectivity
- Confirming access to the relevant management services
11. Remove the Debian ISO and CD/DVD Drive
After confirming that the password reset was successful, revert the temporary VMware configuration changes.
Disconnect the Debian ISO from the virtual machine. If required, power off the virtual machine and remove the temporary CD/DVD Drive. Also restore or remove the temporary: Boot Delay configuration.
Final Verification
After completing the procedure, verify the following:
- Console access is available using the
zadminaccount - The new password works successfully
- The ZVMA operating system boots normally
- ZVM/ZVMA services are running correctly
- Management interfaces and services are accessible
- The Debian ISO has been disconnected
- The temporary CD/DVD configuration has been removed if no longer required
- The Boot Delay setting has been restored
- The overall system is stable
If all checks are successful, the password reset procedure can be considered complete.
Because this procedure modifies authentication credentials at the operating system level, it is strongly recommended to create a current VM snapshot before making any changes, especially in production environments.
If the disk layout, RAID configuration, or Rescue Mode options differ from those described in this document, avoid making assumptions or forcing changes. In such cases, it is safer to proceed together with the relevant product support team.

![[TR] ZVM / ZVMA Sunucusunda zadmin Parolasının Debian Rescue Mode ile Sıfırlanması](https://kadirkozan.com/wp-content/uploads/2026/03/Zerto_HPE_Logo-150x150.png)