![[EN] How to Change the Default Java Version in Ubuntu 24.04](https://kadirkozan.com/wp-content/uploads/2026/03/27ce25e0-1b0e-475e-9233-d088f6756076-1024x683.png)
If you work with Java-based applications on Ubuntu, it is perfectly normal to end up with multiple Java versions installed on the same system over time.
This is especially common when different projects, application servers, development tools, or legacy and modern applications coexist on a single machine. In such cases, the need to change the default Java version becomes unavoidable.
For example, one application may run perfectly on Java 21, while another may only remain stable on Java 17. Likewise, some older enterprise applications still depend on Java 8. Fortunately, Ubuntu provides a structured and reliable way to manage these version transitions.
In this article, we will take a detailed look at how to change the default Java version on Ubuntu 24.04, why this matters, what each command actually does, and what you should verify after making the change.
Why Would You Need to Change the Default Java Version?
Having multiple Java versions installed on a Linux system is very common. The main reason is simple: not every application requires the same Java release.
Typical scenarios include:
- An older enterprise application may only work with Java 8
- A newer backend service may require Java 17 or Java 21
- Development environments may need different JDK versions for different projects
- Tools such as Maven, Gradle, Jenkins, or IntelliJ may expect a specific Java version
- Some application servers and middleware platforms are more stable with certain Java releases
Because of this, installing Java alone is not enough. You also need to know which Java version your system uses by default, and you need to be able to change it when necessary.
What Does “Default Java” Mean in Ubuntu?
On Ubuntu, when you run the java command in the terminal, the system usually does not call the real Java binary directly. Instead, it uses a symbolic link, typically through /usr/bin/java, which points to one of the installed Java alternatives on the system.
This is where the update-alternatives mechanism comes into play. On Ubuntu and other Debian-based distributions, this structure is used to manage multiple versions of software that provide the same functionality.
In other words, your system may have Java 8, Java 17, and Java 21 installed at the same time, but the java command will only invoke one of them. Which one gets called is determined by the alternatives configuration.
What You Should Know Before Starting
Changing the default Java version affects the system at a global level, so administrative privileges are required. In most cases, you will need sudo access to run the necessary commands.
If you are working on a server, keep in mind that this change may affect not only your own shell session but also services and applications running system-wide. In production environments, it is always a good idea to check which services currently depend on the active Java version before making any changes.
Check the Current Default Java Version
Before making any changes, you should first verify which Java version is currently active on the system. Open a terminal and run:
java --versionThis command displays the active Java version. For example, you may see output like this:
openjdk 21.0.2 2024-01-16This means the system is currently using Java 21 as the default.
In some environments, the following command may also be used:
java -versionBoth commands serve a similar purpose, although --version usually provides a cleaner and more readable output.
List the Installed Java Versions on the System
If more than one Java version is installed, Ubuntu manages them through the update-alternatives tool. To display the available Java alternatives and change the default version, run:
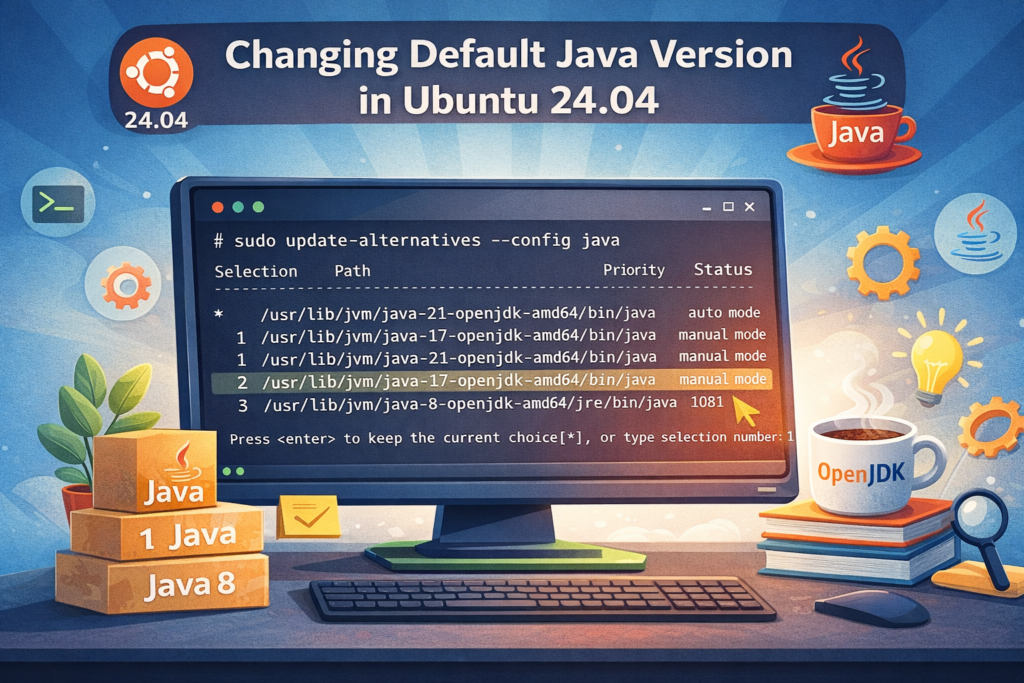
sudo update-alternatives --config javaOnce executed, Ubuntu will display all configured Java alternatives. You will see output similar to this:
There are 3 choices for the alternative java (providing /usr/bin/java).

  Selection    Path                                         Priority   Status
------------------------------------------------------------
* 0            /usr/lib/jvm/java-21-openjdk-amd64/bin/java   2111      auto mode
  1            /usr/lib/jvm/java-17-openjdk-amd64/bin/java   1711      manual mode
  2            /usr/lib/jvm/java-21-openjdk-amd64/bin/java   2111      manual mode
  3            /usr/lib/jvm/java-8-openjdk-amd64/jre/bin/java 1081     manual mode

Press <enter> to keep the current choice[*], or type selection number:
At first glance, this output may look simple, but it actually contains several important details.
What Do the Options on the Screen Mean?
Understanding the fields in this list is important if you want to manage Java versions properly.
Selection
This column shows the number associated with each available Java version. To switch the default version, you type the corresponding number.
Path
This is the full filesystem path to the Java executable. It tells you exactly where that version is installed.
Priority
This value determines which version will be selected automatically when the system is in auto mode. Higher numbers indicate higher priority.
Status
You will typically see one of two states here:
- auto mode: The system selects the Java version automatically based on priority
- manual mode: The version has been explicitly chosen by the user
Asterisk (*)
The asterisk indicates the Java version that is currently active as the default.
Change the Default Java Version
Let’s say your system is currently using Java 21, but you want to switch to Java 17. In that case, you simply enter the selection number shown next to Java 17.
For example:
Press <enter> to keep the current choice[*], or type selection number: 1After entering 1 and pressing Enter, Ubuntu changes the default Java version to Java 17.
From that point on, the /usr/bin/java command will point to the Java 17 binary.
Verify That the Change Was Applied Successfully
Once you make the selection, it is important to confirm that the change was actually applied. Run the following command again:
java --versionIf everything worked correctly, you should now see output similar to this:
openjdk 17.0.10 2024-01-16That confirms the system is now using Java 17 as the default version.
Do Not Forget About javac
This is a very important detail that many users overlook. The java command represents the Java runtime, but javac is the Java compiler. If you are doing Java development, changing only the java version may not be enough.
For example, if java points to Java 17 but javac still points to Java 21, you may run into version mismatches during compilation and execution.
First, check the currently active compiler version:
javac --versionIf needed, you can manage the javac alternative in the same way:
sudo update-alternatives --config javacYou can then select the appropriate compiler version from the list.
In most cases, the best practice is to keep java and javac on the same major version.
View the Active Java Path Directly
Sometimes checking the version alone is not enough, and you may want to see exactly which binary the system is using behind the scenes. For that, you can run:
readlink -f /usr/bin/javaThis command resolves the symbolic link and shows the real target path. For example:
/usr/lib/jvm/java-17-openjdk-amd64/bin/javaThis confirms that the active Java path truly points to Java 17.
You can perform the same check for the compiler as well:
readlink -f /usr/bin/javacWhy JAVA_HOME Also Matters
Some applications and tools do not rely on the system default Java version. Instead, they look at the JAVA_HOME environment variable. That means even after changing the default Java version with update-alternatives, a program may still continue using the old Java installation if JAVA_HOME points elsewhere.
This is especially common with:
- Maven
- Gradle
- Tomcat
- Jenkins
- IntelliJ IDEA
- Spring-based applications
- Custom shell scripts and service definitions
To check the current value of JAVA_HOME, run:
echo $JAVA_HOMEIf it still points to an old Java directory, that may explain unexpected behavior.
To temporarily set JAVA_HOME, you can use:
export JAVA_HOME=/usr/lib/jvm/java-17-openjdk-amd64
export PATH=$JAVA_HOME/bin:$PATH
This only affects the current shell session. If you want the change to persist, you will need to update your .bashrc, .profile, or relevant service configuration files.
The Difference Between Auto Mode and Manual Mode
The auto mode and manual mode settings shown in update-alternatives are important from a system administration perspective.
Auto Mode
In auto mode, Ubuntu automatically selects the Java version with the highest priority. If a new version of Java is installed later and it has a higher priority, the default may switch automatically.
This may be convenient in some environments, but on servers and production systems it can lead to unexpected version changes.
Manual Mode
In manual mode, the version is explicitly selected by the user. Even if a newer Java version is installed later, Ubuntu will continue using the chosen version unless you change it again manually.
For servers and stable application environments, manual mode is usually the safer option.
What Problems Can This Help Prevent?
Setting the correct default Java version can prevent a number of common issues, such as:
- Applications failing to start
- “Unsupported class version” errors
- Maven or Gradle build failures
- Jenkins jobs breaking unexpectedly
- Application servers starting with the wrong Java version
- Version mismatches between development and production environments
In many Java-related environments, a large number of errors are not caused by the code itself, but by the wrong active Java version. That is why version management is a small but critical part of system administration.
Additional Checks for Application Servers
If you are not just using Java in the terminal but also running services on Ubuntu, you need to be even more careful. Some services are configured to use a specific Java path directly, regardless of the system default.
For example:
- A
systemdservice file may define a custom Java path - Tomcat or WildFly may use Java from their own environment files
- A Docker container may use its own internal Java installation, independent of the host system
So, changing the default Java version on the host system does not always mean every application will automatically switch to the new version. In service-based environments, you should also verify service definitions and environment files.
Example Scenario
Let’s assume your Ubuntu 24.04 system has the following Java versions installed:
- Java 8
- Java 17
- Java 21
The system is currently using Java 21, but the application you want to run only supports Java 17. In that case, the process would be:
First, check the active version:
java --versionThen open the alternatives list:
sudo update-alternatives --config javaSelect the number corresponding to Java 17. After that, verify the result:
java --versionIf necessary, repeat the same process for javac. Finally, check the JAVA_HOME variable and any relevant service configurations so the environment is fully consistent.
Changing the default Java version on Ubuntu 24.04 is a fundamental administration task, especially on systems where multiple Java releases are installed. The process itself is not difficult, but it is important to understand what exactly is being changed and which parts of the system may be affected by that change.
In summary, the workflow is straightforward: check the current Java version, use the update-alternatives tool to select the desired version, and then verify the change. In development environments, you should also confirm the javac version and the JAVA_HOME variable to ensure complete consistency.
Using the correct Java version makes a real difference in application compatibility, build reliability, service stability, and overall system management. In environments where multiple Java-based projects run on the same machine, this is not a minor detail but an operational necessity.
![[TR] Ubuntu 24.04’te Varsayılan Java Sürümü Nasıl Değiştirilir?](https://kadirkozan.com/wp-content/uploads/2026/03/27ce25e0-1b0e-475e-9233-d088f6756076-150x150.png)